The Complete Guide to AI Image Generation for OnlyFans Creators
Master AI image generation for OnlyFans. This complete guide covers text-to-image, image-to-image, prompt writing, model selection, and pro tips for consistent, high-quality results.
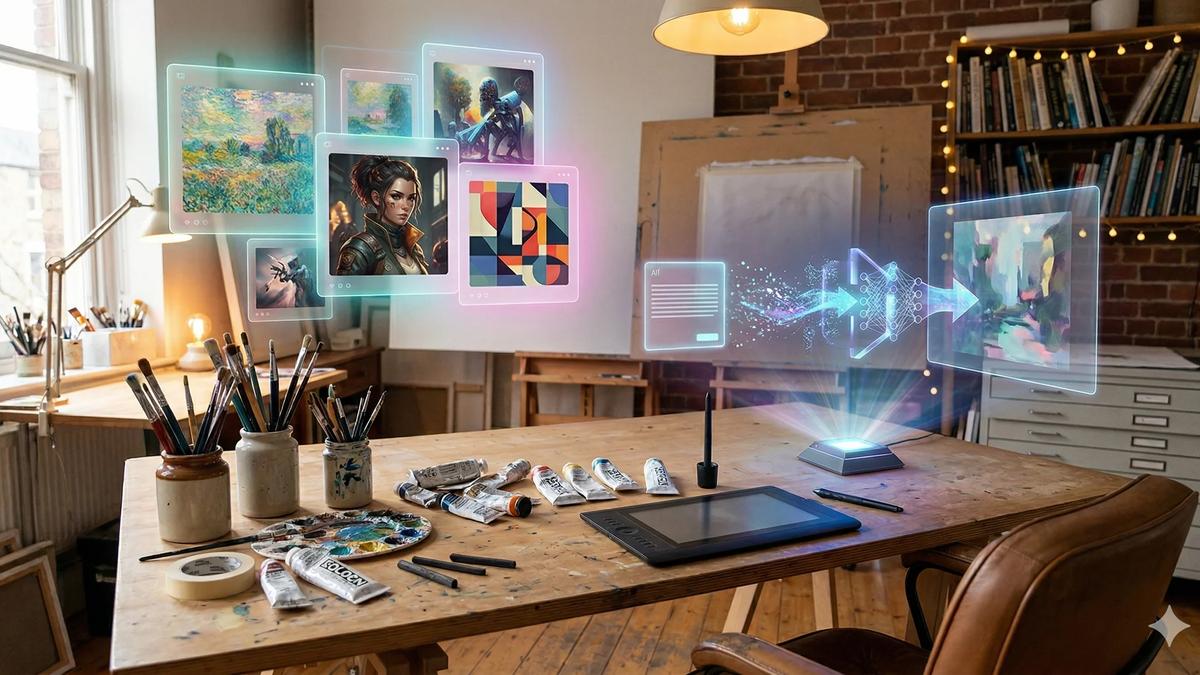
Traditional content production has a ceiling. You can only shoot so many times per month, in so many locations, with so many looks. Every photoshoot costs time and money — and when the shoot is done, the content you have is the content you have.
AI image generation removes that ceiling entirely.
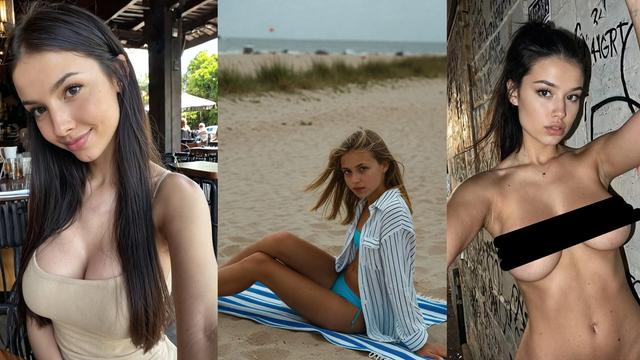
With the right tools and workflow, you can generate dozens of high-quality images in an afternoon — different poses, different settings, different moods — all featuring the same consistent persona. No studio, no camera, no scheduling.
This guide covers how it works, how to write prompts that actually produce results, and how to build a consistent production workflow on OFGenerator.
Text-to-Image vs Image-to-Image: What's the Difference?
These are the two core image generation modes. Understanding when to use each one is the foundation of an efficient workflow.

Text-to-Image (T2I)
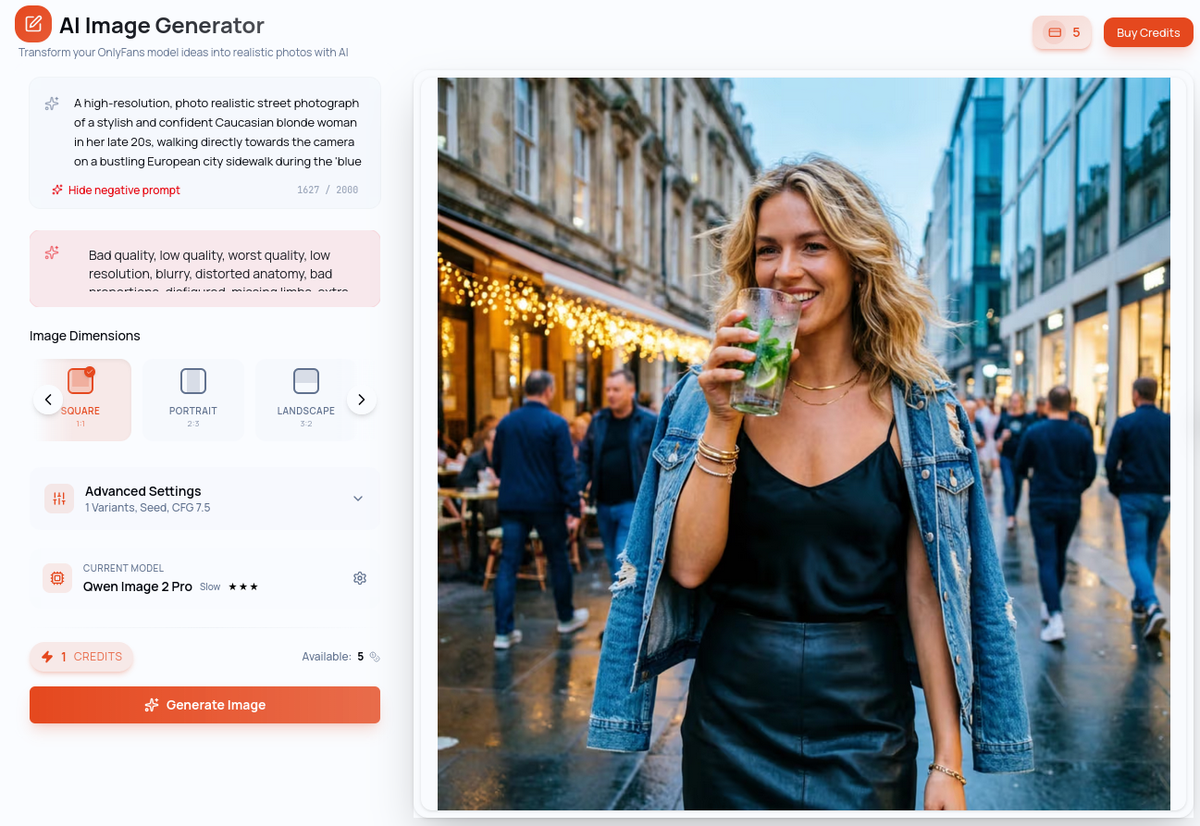
You write a text description — called a prompt — and the AI generates a matching image from scratch. The AI has no visual reference; it works entirely from your words.
When to use it: Creating your model for the first time, exploring a new aesthetic or visual direction, generating content for concepts that don't exist as photos yet.
The limitation: Without a reference image, each generation starts fresh. Results can vary between generations, making visual consistency harder to maintain at scale.
Image-to-Image (I2I)
You provide an existing image as a reference, and the AI generates a new image that preserves the identity and key visual characteristics of your reference — while placing the subject in a completely new context.
When to use it: Generating content from your existing model, creating new poses and scenarios while keeping the same person, building out your content catalog efficiently.
Why this matters: Once you have a strong model image, I2I becomes your primary production engine. The same person, in unlimited scenarios — that's the core loop.
How to Write Prompts That Work
The quality of your generations depends directly on the quality of your prompts. A vague prompt produces vague results. A precise, well-structured prompt produces consistent, usable content.
The anatomy of a good prompt
A strong prompt has four components:
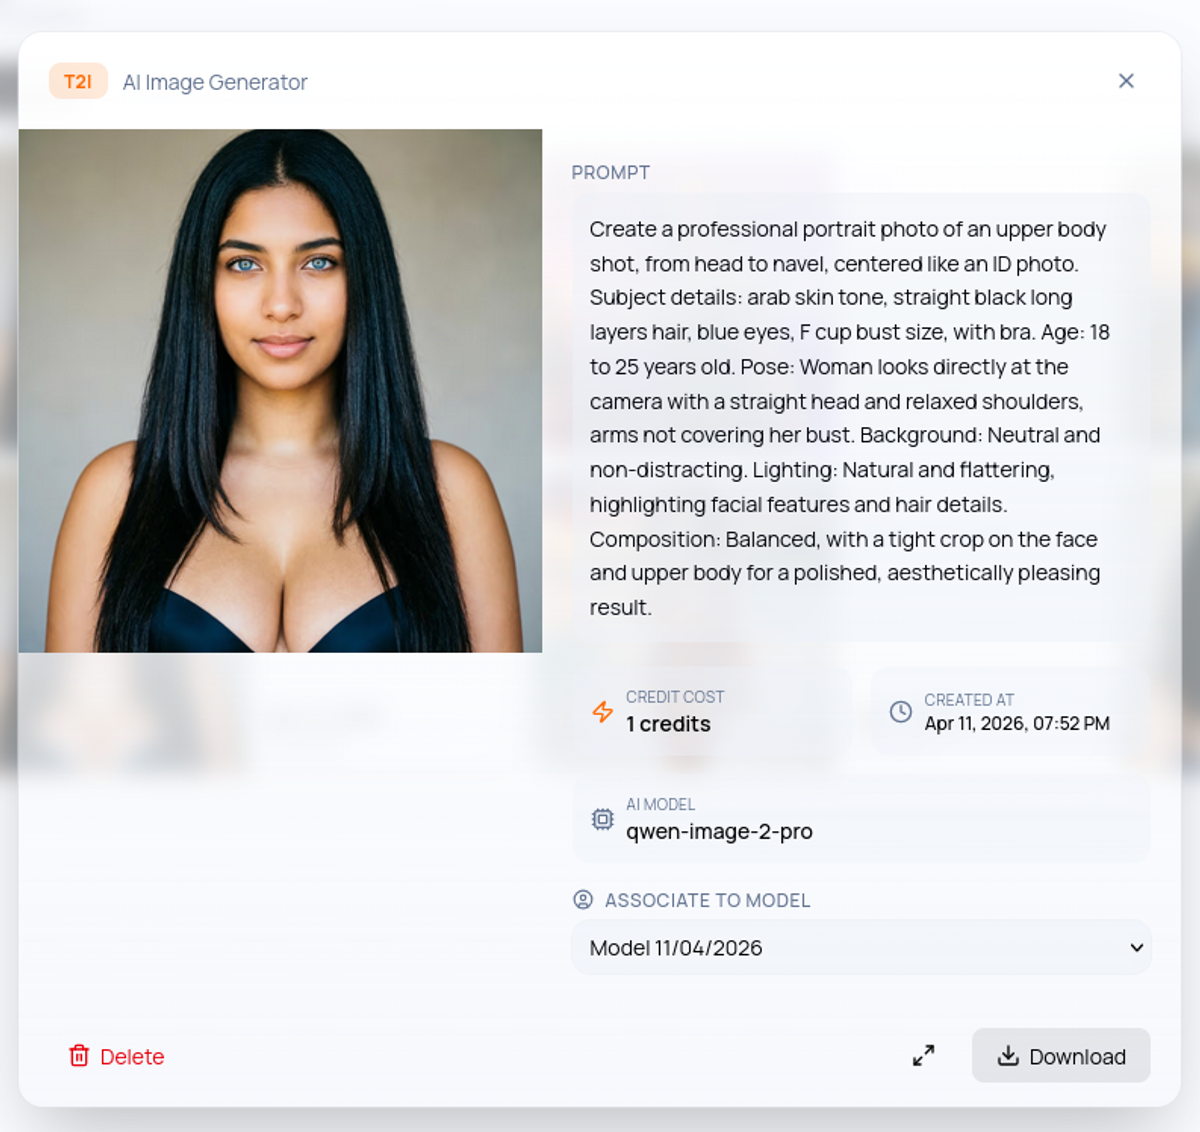
1. Subject — Who is in the image and what are they doing? Example: "A woman with long dark hair and light skin, seated on a bed"
2. Setting — Where are they? What's the environment? Example: "in a luxurious hotel room, floor-to-ceiling windows, city view at night"
3. Mood and lighting — What's the atmosphere? Example: "warm ambient lighting, intimate mood, soft shadows"
4. Style and quality — What should the image look like technically? Example: "photorealistic, high resolution, editorial photography style, sharp focus"
Full example: "A woman with long dark hair and light skin, seated on a white bed in a luxurious hotel room, floor-to-ceiling windows with city view at night, warm ambient lighting, intimate mood, photorealistic, high resolution, sharp focus"
Common prompt mistakes
Too short: "woman on a bed" gives the AI nothing to work with. The result will be generic and inconsistent across generations.
Contradictory elements: "outdoor beach scene, studio lighting, urban background" — conflicting elements produce incoherent results.
Forgetting the style: Without specifying photorealistic or a visual style, output quality varies wildly between generations.
Over-complicating: A 200-word prompt isn't better than a 50-word one. Prioritize the four components and keep it focused.
Prompt templates to get started
Lifestyle / outdoor: "[Subject description], [outdoor location], [time of day], natural light, lifestyle photography, high resolution, photorealistic"
Boudoir / interior: "[Subject description], [interior setting], soft warm lighting, intimate atmosphere, professional photography, sharp focus, high resolution"
Fantasy / creative: "[Subject description], [fantasy setting], dramatic lighting, cinematic mood, highly detailed, photorealistic rendering"
Choosing the Right Model
OFGenerator offers multiple AI models, each with different strengths. The right choice depends on what you're creating.
For drafts and exploration: Use faster models to test concepts and prompts quickly before committing to a final generation. Speed over quality at this stage.
For final content: Switch to a higher-quality model. The generation takes longer but the output is sharper, more detailed, and more consistent.
Text-to-Image and Image-to-Image have their own independent model selections — they are separate tools with separate model libraries. Choose within each module based on the speed/quality tradeoff that fits your current task.
Step-by-Step: Your First Generation on OFGenerator
Step 1: Choose your starting point
No model yet? Start with the Create Model to define your persona from attributes, or use the Text-to-Image module to generate your model from a prompt. Either way, the goal is the same: one solid reference image that defines your persona.
Model ready? Go directly to the Image-to-Image module — that's your main content production tool from here.
Step 2: Write your prompt
Follow the four-component structure: subject, setting, mood/lighting, style. Keep it focused and specific.
For Text-to-Image, describe your subject in full. For Image-to-Image, your model already handles the subject — focus your prompt on the setting, mood, and style you want.
Step 3: Select your model
Choose based on your current goal: a faster model for drafting and exploration, a quality model for final publishable content.
Step 4: Generate and evaluate
Review the output. Ask yourself: Is the identity consistent with my model? Is the quality high enough to publish? Does the mood match what I intended?
If the answer to any of these is no, adjust your prompt and regenerate. Most creators need 3–5 iterations before finding the configuration that works for a given scenario.
Step 5: Save your successful prompts
When a prompt produces great results, save it. Build a personal prompt library organized by scenario type — this becomes one of your most valuable production assets over time.
Pro Tips for Consistent Results
Use the same model for the same persona. Switching models between generations of the same character produces inconsistency. Once you find the model that works best for your model, stick with it.
Vary the setting, not the subject. The most efficient way to build a diverse catalog is to keep your subject description identical across prompts and vary only the location, lighting, and mood.
Generate in batches. Write 3–5 prompt variations for the same concept and run them together. This gives you options and helps identify which prompt elements are producing the best results.
Build a reference folder. Keep your best model images and successful outputs organized. A strong generation can serve as the reference image for future I2I work.
Review before publishing. Always review before publishing and discard anything that doesn't meet your quality standard. One strong image beats five mediocre ones every time.
Quality Checklist Before Publishing
Before any AI-generated image goes live, run through this checklist:
Identity consistency — does the image match your established model?
Technical quality — is the image sharp, well-lit, and free of obvious artifacts?
Setting coherence — do all elements of the scene make sense together?
Content compliance — does the image respect OnlyFans' content guidelines?
Caption ready — do you have a caption written that adds context or personality?
Ready to start generating? OFGenerator's Text-to-Image and Image-to-Image modules are available from your dashboard. New accounts include 10 free credits.